Download and install Unreal Engine 4.26.
Download the Vertex SDK and extract it to a folder of your choice.
Go into the folder and open VERTEX_MODS.uproject.
You should see a Content folder with two sub-folders in it: MCS and GoodSky.
Go to Edit -> Plugins -> New Plugin (the plugin will be your mod).
Select "Content Only", then give the plugin a name (the name of your mod), for example "MyFirstMod".
You should now have a new Content folder in your Content Browser with the name of your Plugin.
This Content Folder is where all the assets for your mod are stored. Don't confuse it with the base "Content" folder that already existed before you created the plugin. You can't add anything to that base content folder because it won't be packaged correctly in your mod. However, you can drag and drop anything from the base content folder to the plugin's content folder to use and modify it.
Now we create a new map.
Go to File -> New Level and select the "Default" template.
Then go to File -> Save Current As, select your PLUGIN content folder and save the map, for example as "MyFirstMap".
Now we ne need to make a new custom build profile for the plugin.
Go to Windows -> Project Launcher. Click on the button in the bottom right with a "+" symbol to create a new profile.
Now click on "Edit Profile" (wrench-symbol).
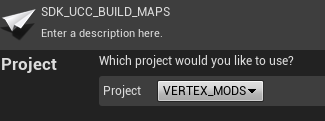
Make sure your current project (VERTEX_MODS) is used.
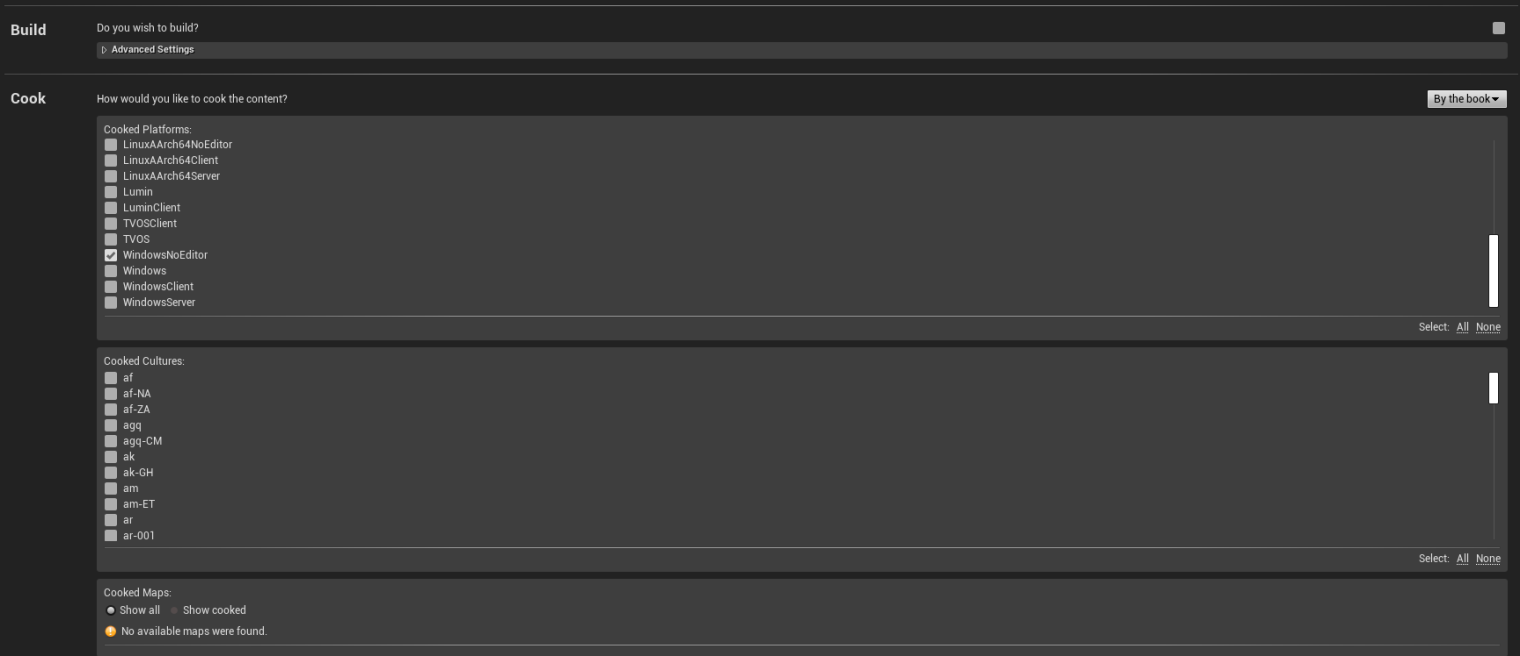
"Build" needs to be un-checked.
On The "Cook" section, everything needs to be unchecked except for "WindowsNoEditor".
Open the "Release / DLC / Patching Settings"
At "Name of the DLC to build" enter the name of your plugin.
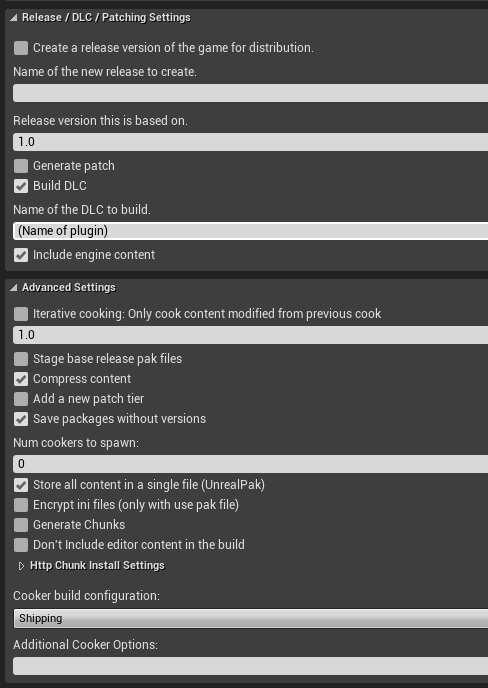
Make sure to copy the settings above to ensure a successful build.
Leave everything else disabled.

Close this window for now.
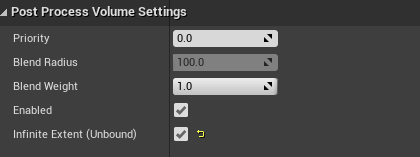
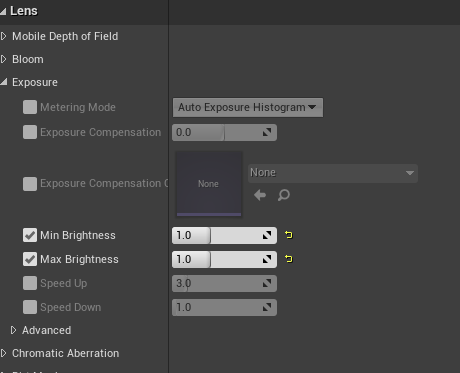
On the left side of the screen you can find a "PostProcessVolume" (in the Volumes tab or use the "search classes" textfield). Change the settings in "Post Process Volume Settings" and "Lens".
Select your "PlayerStart" object. That's your spawn point. There are four possible tags for "PlayerStart"-objects: "DuelOne", "DuelTwo", "TeamOne", "TeamTwo".
Go to the "Actor" section of the "PlayerStart" object and then to "Tags".
Change "None" to "DuelOne".
Also change the "Spawn Collision Handling Method" to "Try to adjust location, but always spawn".
Now add a "Blocking Volume" from the left side of the editor (in the Volumes tab or use the "search classes" textfield), this will be the kill-trigger which will kill the player when he hits it. Place it in the world and then scale it appropriately.
Go into the "Collision" settings and change the "Collision Presets" to "OverlapAll". In the Actor tab set it to "Always spawn, ignore collisions" and change the actor-tag to "KillVolume".
To be able to select the new map in the game, we need to make a datatable.
Next to your map in the content folder do a right click and choose Miscellaneous -> Data Table.
Then select the "LevelINFO" structure from the drop down menu that appears.
Rename the Data Table asset to: DT_UCC_LEVEL_INFO.
Open the data table and add a new row. Change the name of the row to the name of your internal level name.
- LevelNameInternal is the UE4 asset name of your level, in this case it is: MyFirstMap.
- LevelDisplayName is the UI name that you see ingame.
- PrimaryID is NOT set.
- LevelType is set to "USER CREATED CONTENT".
- IsPlayable at the bottom needs to be checked.
Now go to File -> Save All.
Now open Windows -> Project Launcher again and launch your new profile that you created earlier.
In Windows explorer, open up your <project>Plugins/MyFirstMod/Saved folder. Use the Windows search to find the .pak file.
Before you build again, make sure that you delete your whole Saved folder before that!
Put that .pak file in both the client and server "UserCreatedContent" folder
Launch the server, then launch the client and direct connect to the server with "127.0.0.1".
Success, you are now playing on your own map!
Additional Notes:
- You don't need to make a new build profile for every mod you make. You just have to edit the name of the Plugin in the build profile at "Name of the DLC to build".
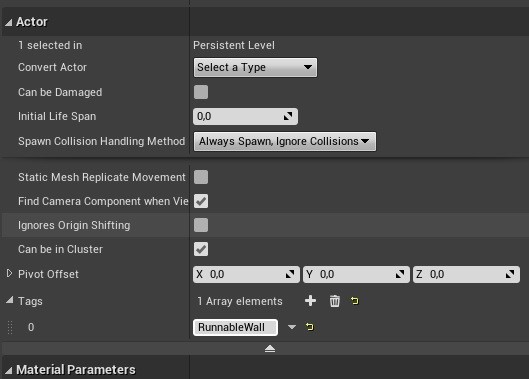
- To make walls runnable you need to go into the Actors section of the Mesh and add "RunnableWall" as an actor tag.
- To display levelshots you simply need to drag and drop the images into the plugins content folder. Then you can add them to the datatable you created earlier. Large should be 1920x1080 and small 420x360.
- There is a premade door blueprint in the SDK that you can use in your projects. More prefabs will be available in the future.
- To make your mods available to the public, upload them on vertex.mod.io. You need to pack the .pak file into a .zip in order to upload it to mod.io.
- The editor puts out very long names for your .pak files but you can rename them to whatever you want.